September 14, 2026
By Brian Johnson, Building Biologist and Licensed General Contractor
Mold Remediation the Healthy Building Way: Remove, Clean, Protect
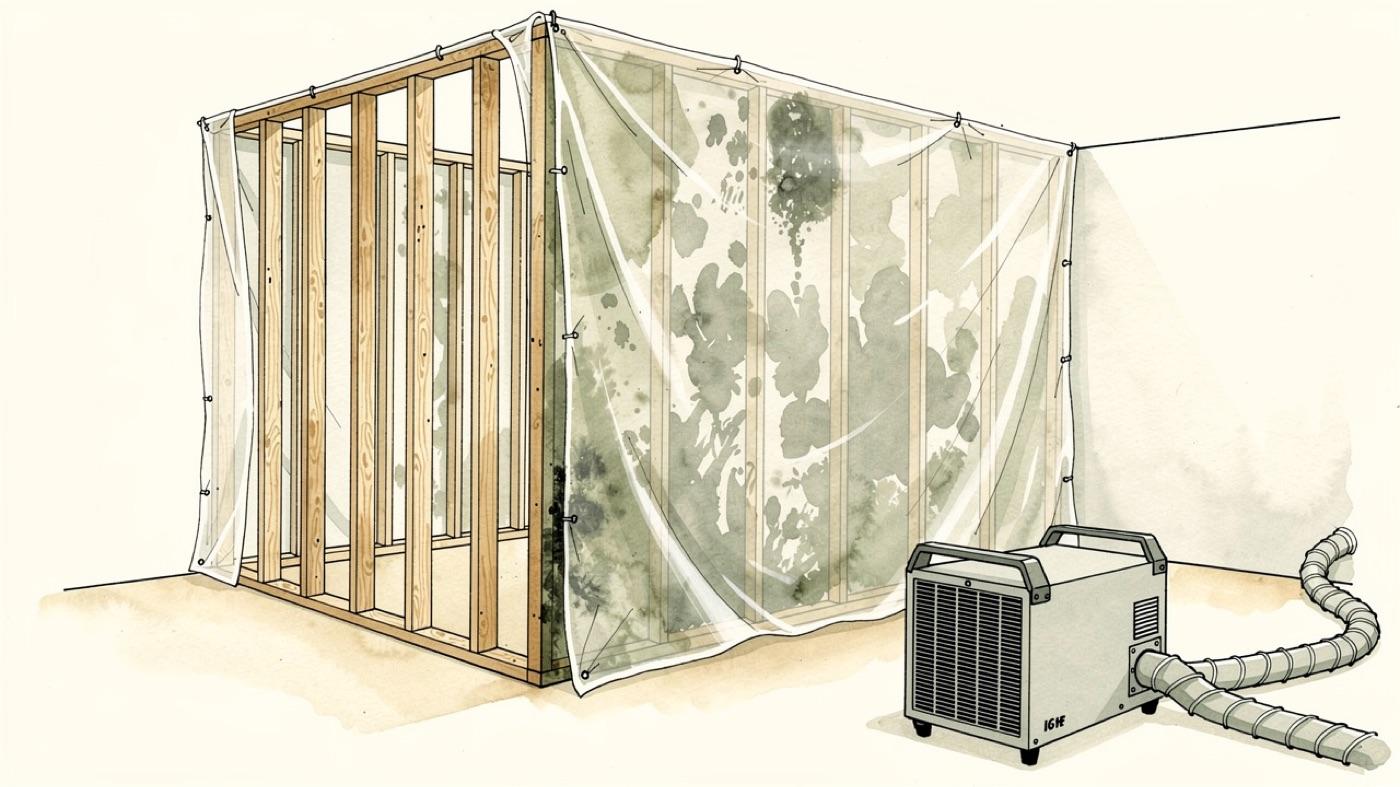
Mold remediation is often sold as a single product or a single method. Spray this, fog that, seal it and walk away. In practice, effective mold remediation is a layered sequence, and the order of the steps matters more than any material in them.
This post is about the method. If you are still trying to figure out whether you have mold, start with our comprehensive mold guide. Once contamination is confirmed, this is how SENERGY360 takes it out and keeps it out.
The Principles Behind Healthy Building Mold Remediation
Four rules guide every remediation project we run. They are simple, and skipping any one of them is why so many jobs fail within a year.
- Removal is primary
- Cleaning is required
- Treatment is supplemental
- Prevention is essential
No product replaces proper sequencing. Success is determined by execution, not by what is in the bucket.
The U.S. EPA makes the same point about removal in its guide to mold, moisture and your home.
Dead mold may still cause allergic reactions in some people, so it is not enough to simply kill the mold, it must also be removed.
Layer 1: Source Removal
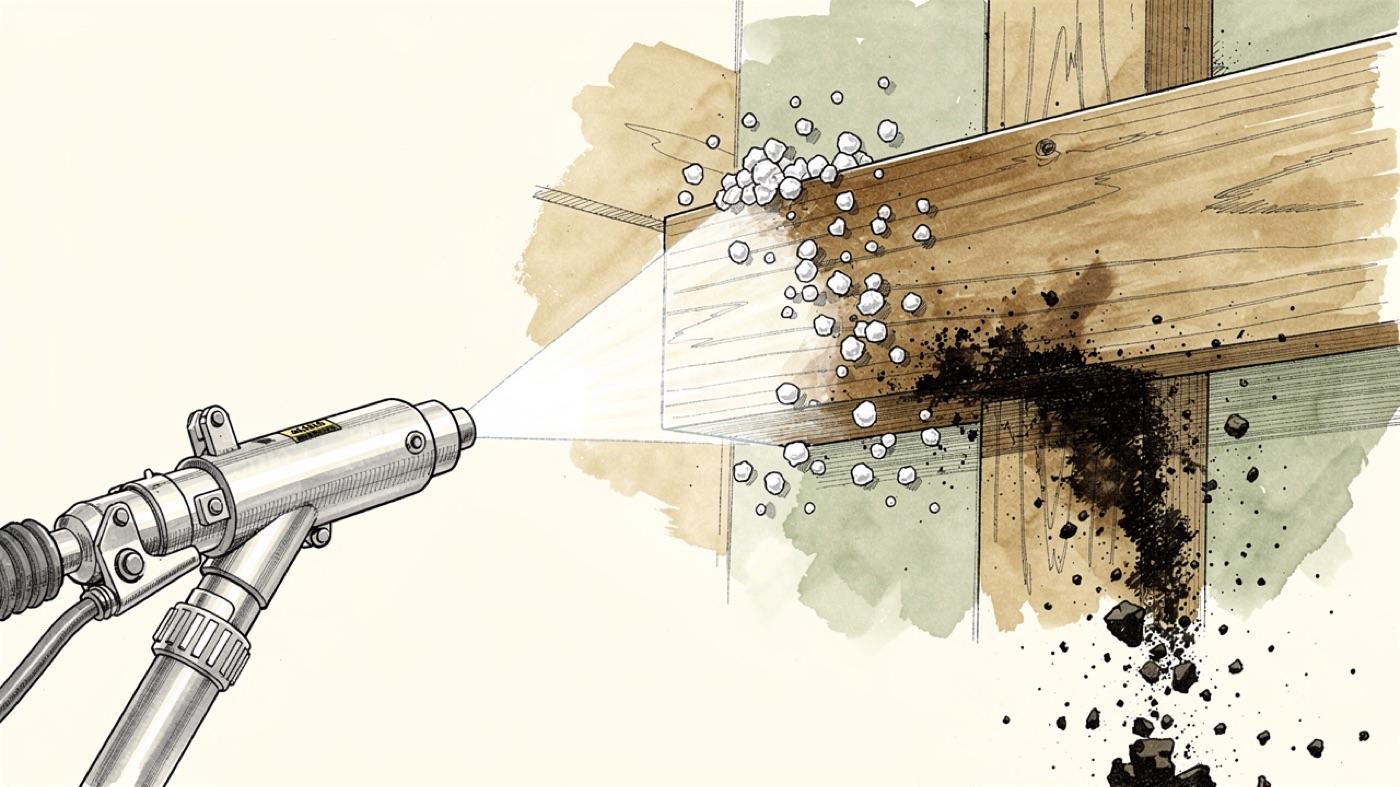
Physical removal of contaminated material is the foundation. Mold growth, biofilm and damaged materials come out or get stripped back to clean substrate. If contamination is not physically removed, no downstream process can resolve the problem.
Methods we use
- Dry ice blasting on framing and sheathing
- Media blasting where the substrate allows it
- Selective demolition of materials that cannot be cleaned
Layer 2: Surface Refinement and Mechanical Cleaning
Blasting leaves a surface that looks clean but is not finished. Wood fibers still hold embedded contamination, and fine particulate settles everywhere. This layer turns a visually clean surface into a truly clean substrate.
What the cleaning layer includes
- Sanding to refine porous surfaces
- HEPA vacuuming of every surface in the containment
- Detailed wipe cleaning of framing, sheathing and fixtures
Skipping sanding and detailed cleaning is one of the most common industry missteps. It is also the most tempting, because the wall already looks done.
Layer 3: Environmental Refinement
After removal and cleaning, microscopic residues can remain in porous materials, wall cavities and the airspace. We address this with the Superstratum system, a multi-phase refinement step applied only after the core remediation is complete and the materials are verified clean and dry.
Surface treatment
A hypochlorous acid (HOCl) based treatment breaks down organic compounds and biofilm fragments on surfaces that mechanical cleaning cannot fully reach.
Airspace and cavity treatment
A chlorine dioxide (ClO2) based treatment reaches wall cavities, airspace and inaccessible areas. It is applied under controlled conditions with the building vacant and full safety protocols in place.
What this layer is not
This is not a spray-and-kill method. It is not applied to contaminated surfaces, and it does not replace removal or cleaning. Within our protocol it is a post-remediation refinement layer, a low-toxicity alternative to harsher chemical methods, and nothing more.
Layer 4: Protection and Long-Term Performance
Traditional encapsulation seals the surface. That can trap moisture, limit drying and hide problems underneath. We use the Endurance coating instead, applied only to clean, verified surfaces.
EPA homeowner guidance points the same way: do not paint or caulk moldy surfaces, and clean up the mold and dry the surfaces before painting.
Why a vapor-permeable coating
- It lets the assembly dry instead of trapping water
- It reduces the potential for microbial regrowth
- It does not conceal contamination
- It supports the long-term durability of the framing
The Full Sequence
Put together, a complete remediation runs in this order. Every step has a defined role, and none of them can be moved.
- Containment and environmental controls
- Source removal by blasting or demolition
- Surface refinement by sanding as needed
- HEPA vacuuming
- Detailed wipe cleaning
- Superstratum surface treatment
- Superstratum airspace treatment, if required
- Final cleaning and inspection
- Endurance protective coating, when specified
- Moisture and building system corrections
- Verification and clearance testing
The Step That Makes It Hold
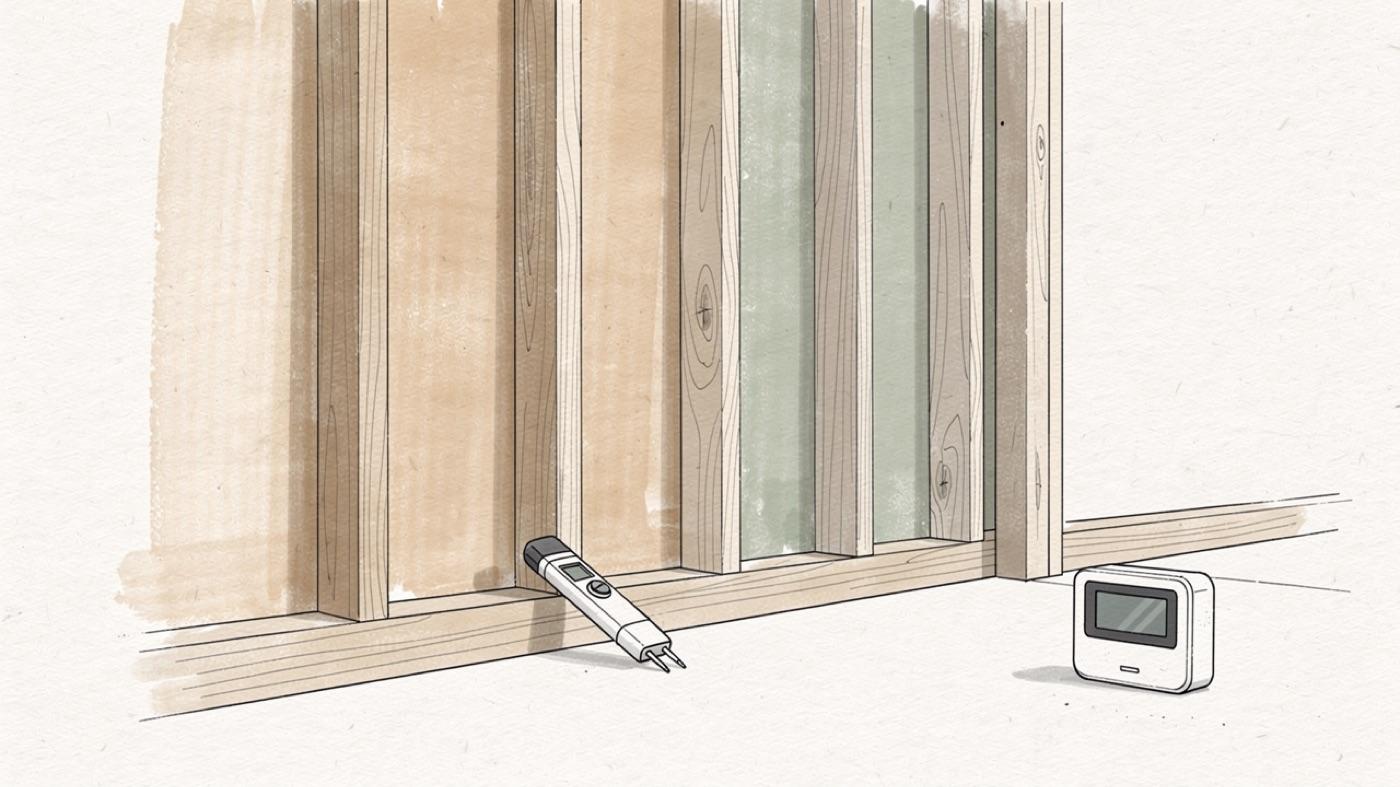
Moisture and building system corrections are the most important long-term component. Remediation without them will not last. Mold came back to that wall for a reason, and the reason is still there until it is fixed.
The EPA puts it in one line: the key to mold control is moisture control. Its indoor air guidance recommends keeping indoor relative humidity below 60 percent, and ideally between 30 and 50 percent. Our post on what causes mold in a house covers the moisture sources we find most.
What has to be corrected
- Leak detection and repair
- Drainage improvements around the foundation
- HVAC and humidity control, targeting 40 to 50 percent relative humidity
- Proper air, vapor and thermal control layers in the assembly
This is where remediation meets building science. Our mold prevention in construction principle covers the same control layers on a new build, before there is anything to remediate.
Mistakes We See in the Field
- Chemical treatments applied without removal
- Sanding and detailed cleaning skipped
- Refinement products mislabeled as the primary solution
- Coatings applied over contaminated or damp material
- Moisture failures ignored while the surface gets treated
SENERGY360 does not support biocide-driven remediation, product-based solutions or encapsulation as a default. Each method is valid in its place. Their effectiveness comes from proper sequencing, correct application and integration with building science.
The EPA takes a similar view of biocides in homes: it does not recommend a chemical that kills mold, such as chlorine bleach, as a routine practice during mold cleanup.
A structure treated this way is not just remediated. It is clean, stable and ready to perform for the long term.
Remediation starts with finding the source. See what a mold inspection includes, or schedule a mold inspection in Tucson or a mold inspection in Phoenix.