September 14, 2026
By Brian Johnson, Building Biologist and Licensed General Contractor
Natural Mold Removal: Five Techniques That Work and When to Stop
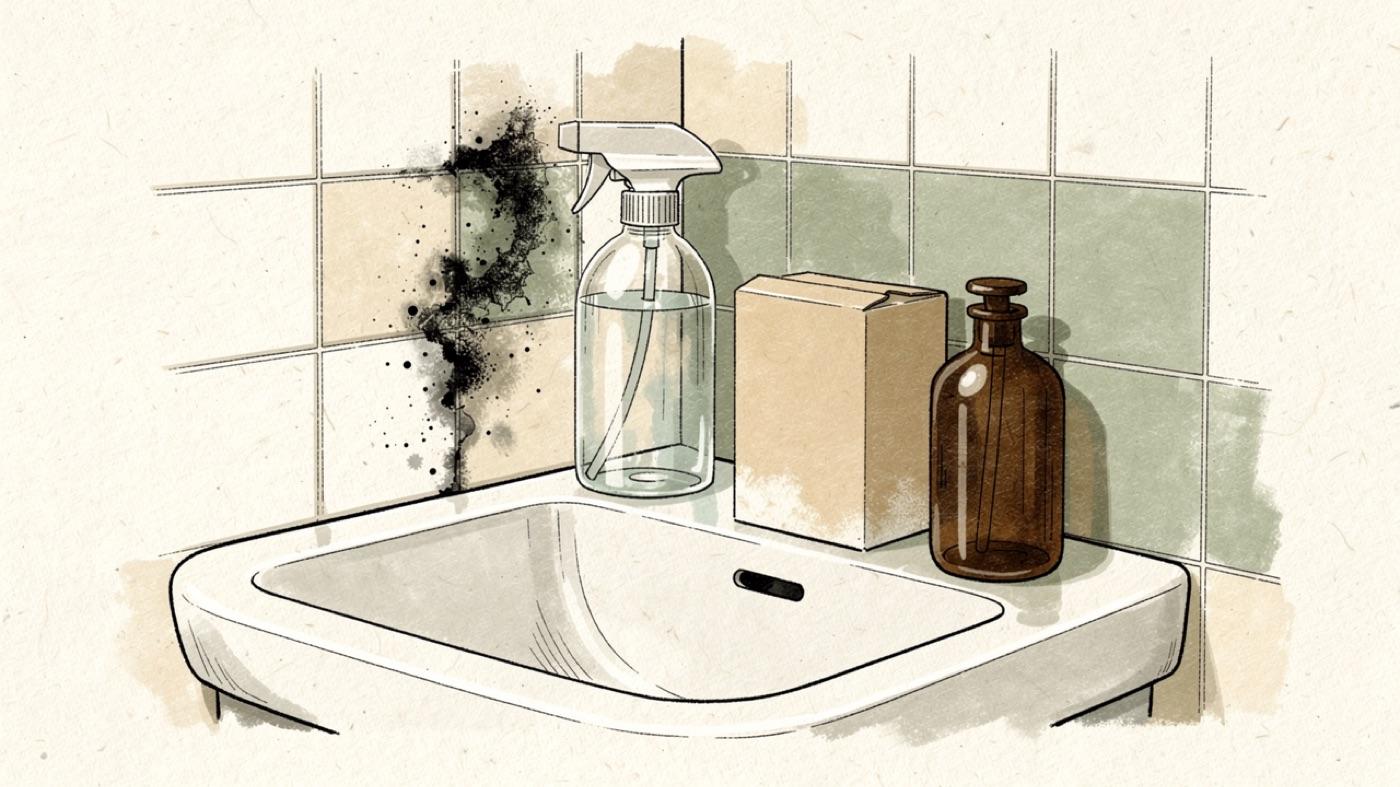
Mold is a fungus that grows wherever moisture sits long enough. Exposure can trigger respiratory problems, allergies and skin irritation. Natural mold removal handles small patches without adding harsh chemicals to the air you breathe.
At SENERGY360 we clean mold with the mildest thing that works. Then we fix the water problem that fed it. This post covers the five natural methods we use, their limits, and the point where a professional needs to step in.
Where mold starts in a home
Mold spreads through airborne spores that settle in dark, damp places. Basements, bathrooms and kitchens are the usual spots. The spores are everywhere, so the only real control is moisture.
Common types found indoors
Aspergillus, Cladosporium and Stachybotrys are the molds we see most often. Stachybotrys is the one people call black mold. Each behaves a little differently, and each needs the same thing to grow: a damp surface and a food source.
Signs you have a problem
- Black, green or grey spots on walls, ceilings or grout
- A musty smell with no visible source, which often means hidden growth
- Sneezing, coughing or itchy skin that eases when you leave the house
Early action keeps a small patch from becoming a wall cavity problem. If you are unsure what you are looking at, our comprehensive mold guide walks through identification.
Natural mold removal methods
These work on hard, non-porous surfaces such as tile, grout, glass, sealed countertops and painted drywall with surface growth only. Wear gloves and a mask, and open a window while you work.
Starting mild is in line with federal guidance. The U.S. EPA's A Brief Guide to Mold, Moisture and Your Home advises scrubbing mold off hard surfaces with detergent and water and drying them completely, and it takes a cautious view of harsher products.
The use of a chemical or biocide that kills organisms such as mold (chlorine bleach, for example) is not recommended as a routine practice during mold cleanup.
Our post on what biocides are and where they hide in a home explains why we avoid them indoors.
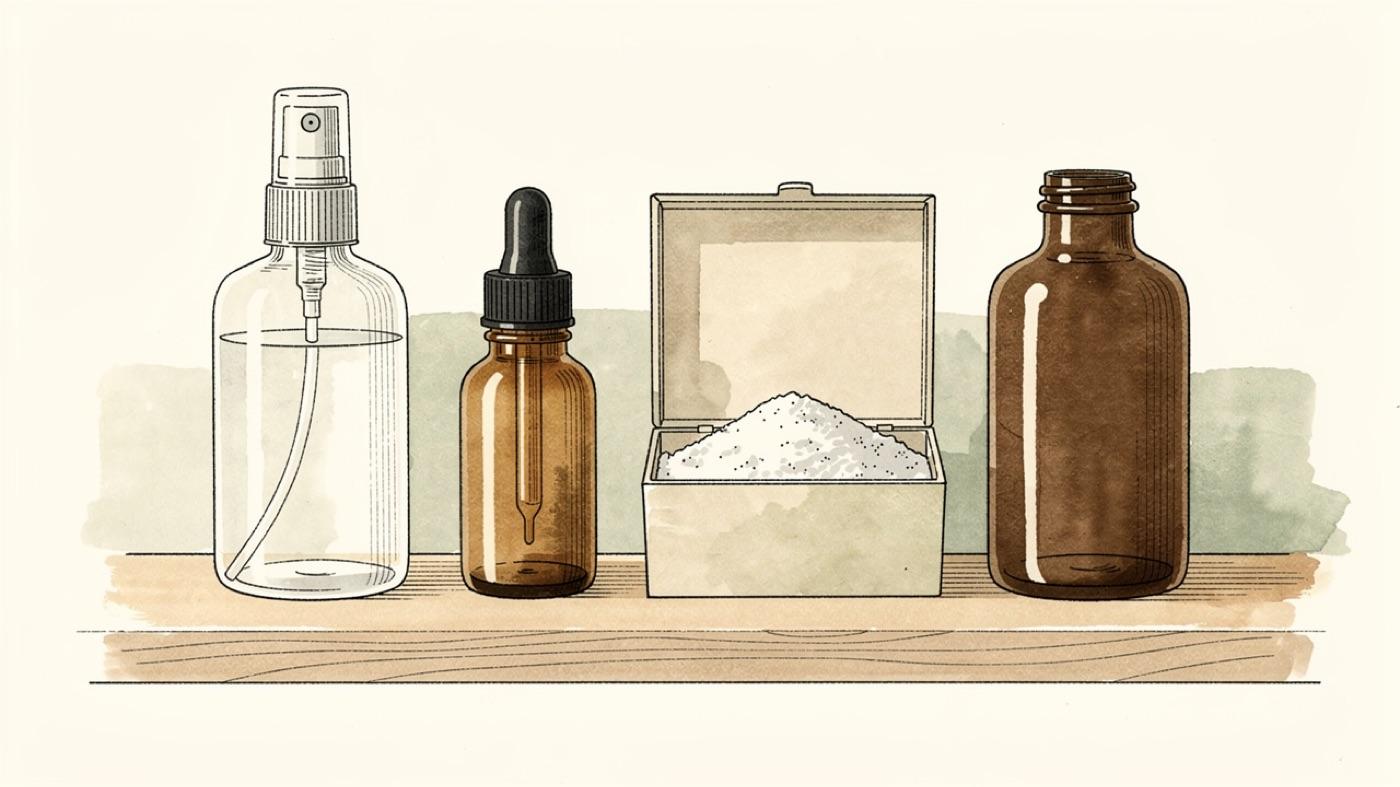
Vinegar
White vinegar is a mild acid that kills most household mold. Spray it on undiluted and let it sit for at least an hour. Then scrub and wipe the surface dry.
Vinegar also leaves a surface that is harder for spores to recolonize. It is our first choice for grout, shower doors and window sills.
Baking soda
Baking soda scrubs and deodorizes at the same time. Mix a quarter tablespoon into a spray bottle of water, spray the patch, and scrub gently. Rinse and dry the surface when you are done.
It is gentle enough for painted surfaces. It also pulls the musty smell out of a room faster than vinegar alone.
Hydrogen peroxide
Three percent hydrogen peroxide is a strong mold remover for many surfaces. Spray it on, wait about ten minutes, and wipe clean. It has antifungal and antibacterial properties and breaks down into water and oxygen.
Test a hidden spot first on colored grout or fabric. Peroxide can lighten some materials.
Essential oils
Tea tree oil and lavender oil have antimicrobial properties that help kill spores. Mix one teaspoon of tea tree oil into a cup of water and spray it on the mold. Leave it in place without rinsing.
The scent is strong, so this works best in a ventilated bathroom. Keep the bottle away from pets.
Salt and water
Salt is a natural desiccant. Dissolve it in warm water and apply it to areas that keep getting damp. Used regularly, it helps keep those surfaces dry and discourages new growth.
The limits of natural methods
Natural cleaners kill surface mold. They do not reach growth inside drywall, insulation or framing. Scrubbing a stain that keeps coming back usually means the real colony is behind the surface.
- Porous materials like drywall and carpet that stay moldy after cleaning need replacement, not another spray
- Patches larger than about ten square feet are beyond a DIY job
- Anyone in the home with asthma, immune problems or mold sensitivity should not do the cleaning
The ten square foot line comes from the EPA's Mold Cleanup in Your Home guidance, which says a moldy area smaller than roughly a 3 ft. by 3 ft. patch can in most cases be handled yourself. The same guide notes that absorbent or porous materials, such as ceiling tiles and carpet, may have to be thrown away if they become moldy.
When cleaning is not enough, the fix is source removal under containment. Our post on the healthy building approach to mold remediation explains what that looks like.
Preventing future mold growth
Every natural mold removal method fails if the moisture comes back. Prevention is about water, not cleaners. Our guide on how to reduce moisture in your house lays out a five-minute daily routine.
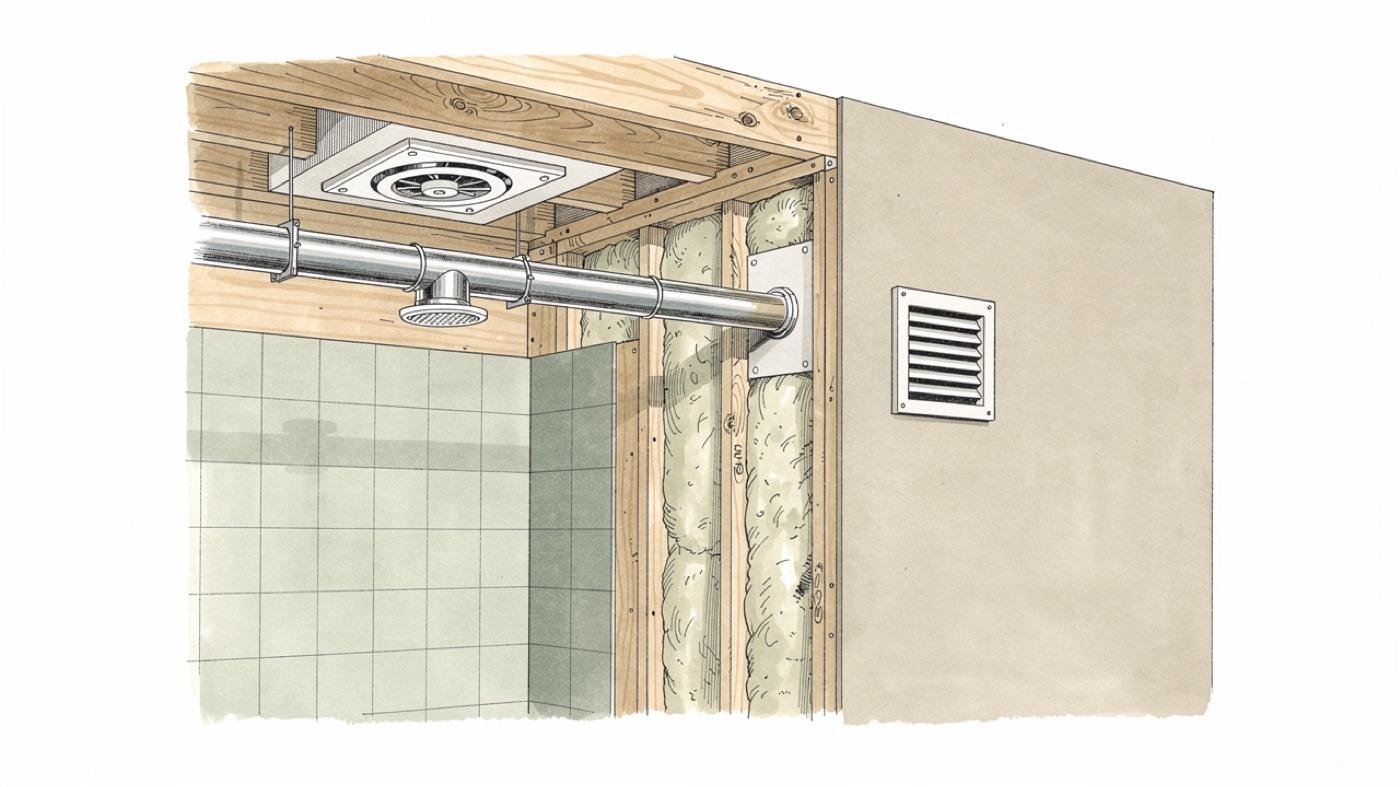
Ventilate the wet rooms
Run bathroom and kitchen exhaust fans every time you shower or cook. Leave them on for ten to fifteen minutes afterward. Make sure each fan actually ducts outdoors.
Find and fix water
Check under sinks, around toilets and along the roofline for leaks. Confirm that gutters and grading move rain away from the foundation. A small drip repaired today prevents a remediation job next year.
Keep humidity in range
Aim for indoor relative humidity below 50 percent. A dehumidifier helps in basements and in humid seasons. Some indoor plants absorb a little moisture too, but they are not a substitute for ventilation.
We design moisture control into every home we build, from the slab up. The mold prevention principle in our CORE framework covers the details.
When to bring in a professional
Call for help when the patch is large, when it returns after cleaning, or when someone in the house is reacting. A Healthy Home Inspection finds the moisture source, tests the air, and tells you whether cleaning or remediation is the right next step. If you are weighing a test kit first, read DIY mold test kits vs professional inspection.
Natural mold removal is a good first tool. Knowing when to put it down is just as important.